FORMBOSS® STAKES AND CONNECTORS
Depending on what you’re trying to achieve, there are a range of staking options available for FormBoss® Metal Garden Edging Systems. The general rule of thumb for selecting the right stake is making sure the stake is more than twice the profile height as a minimum.
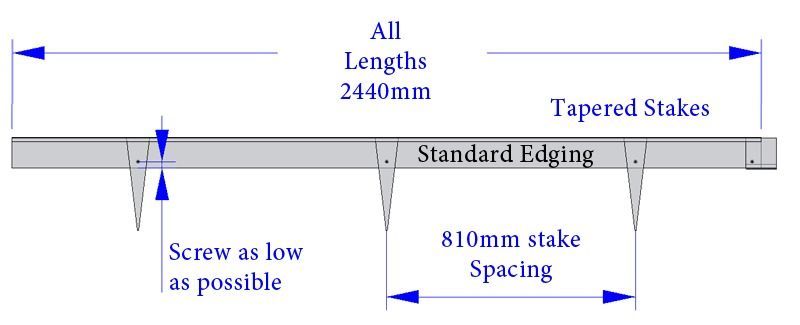
FormBoss® Tapered Stakes (Triangle Stakes)
The first option is the tapered stake. It’s ideal for edging profiles up to 185mm high, and works great at strengthening and anchoring most standard applications. For general applications we strongly recommend 3 stakes spaced out evenly per length of steel (2.44m). This works out to be every 813mm. Generally you’ll just place one in the center and one at each end about 400mm from your connection. These stakes are sold individually.
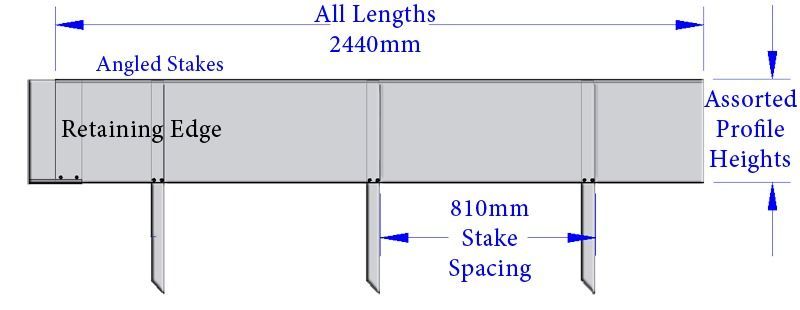
FormBoss® Angled Stakes (Retaining Stakes)
The second option is the angled stakes. These stakes are specially manufactured to suit both higher strength jobs and retaining applications.
Generally you space angled stakes at the same *3 per length (every 813mm).
If you have a high strength job such as a straight 400mm retaining wall, or steps of any size, it is highly recommended to increase the quantity to *4 per length. This will work out to be spacing them every 610mm. If your steps are narrow, you’ll need a minimum of 1 angled stake per side.
You insert the top edge of the stake under the lip of the edging the same as you would with the tapered stakes. Angled stakes are sold individually.
It’s important that you use a rubber mallet to knock these stakes in. A metal hammer will fold the top edge of the stake over and make it impossible to insert it under the lip of the edging.
Sometimes, especially for the 1200mm stakes, it is necessary to pre-dig out the area where the stake is going. A motorized post hole digger is fantastic for the 1200mm stakes, fill your hole up with concrete if you want the strongest retaining wall possible.

FormBoss® Corner Pieces
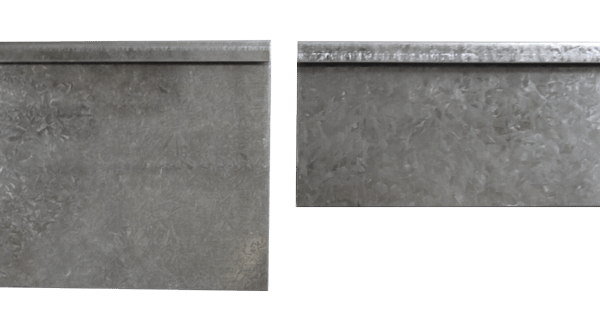
Corner pieces are a 610mm length of edging with a bend in the centre, creating a perfect 90-degree corner piece, that attaches to the edging with the provided connectors. Corner pieces start at 75mm and go up to 580mm.
Please select internal (IN), which has the rolled lip on the inside of the bend or external (OUT), which has the safety lip on the outside of the bend.
Please note: All Corner Pieces are made to order, please allow up to 7-10 business days manufacturing lead time.
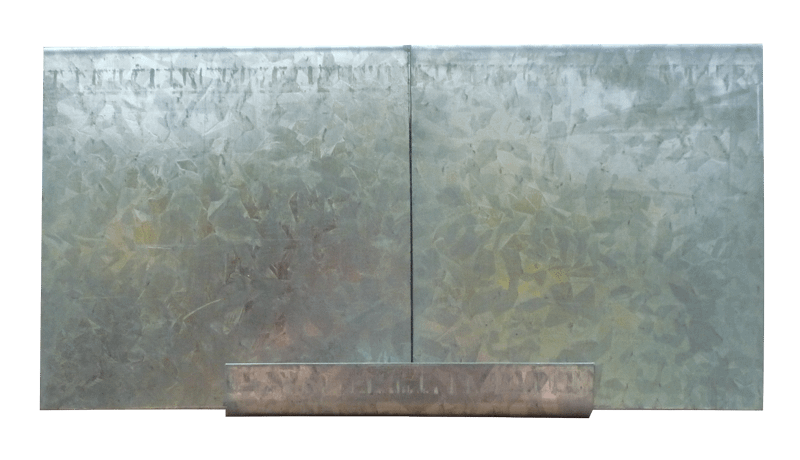
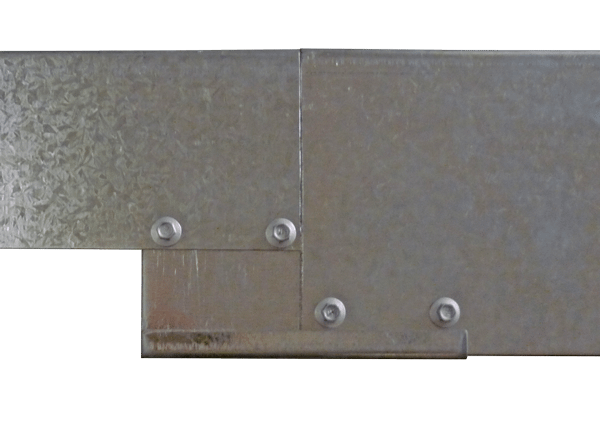
FormBoss® Joiners
The FormBoss® joiner is essentially a short piece of the same FormBoss® profile, that allows you to connect your lengths together in a way that you end up with flowing uninterrupted lines. They are included in the price of all lengths.
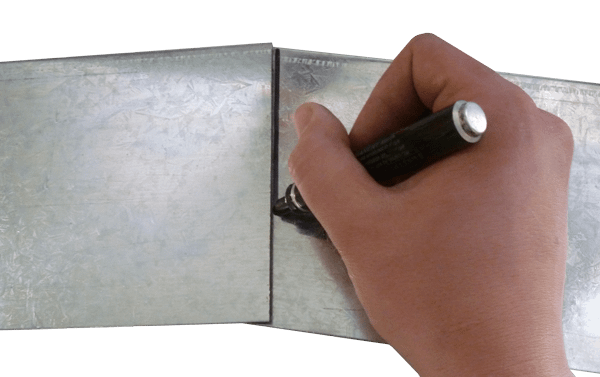
Simply get your smart connector, making sure the rolled lip is at the bottom, and slide one of your lengths halfway so the lip is pinching the edge top and bottom.
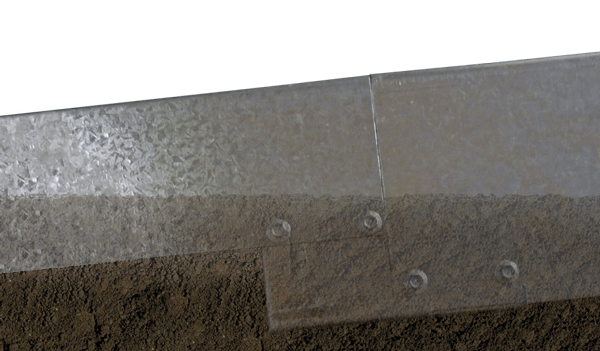
FormBoss® allows you to have flawless uninterrupted lines with all the
connections, stakes and fixings hidden under the soil level!
You’ll have to make sure that any cuts you have made are 100% square (90 degrees) in order to get the cleanest connection possible.
Push both lengths tightly together inside the smart connector, and clamp them there to ensure they don’t move.
Connectors and screws are included FREE with every order.
We’ll work out how many you need when you order!
Connecting on a Sloping Block
Sometimes, when the land is rising or sloping, it is difficult to maintain a consistent edging height.
FormBoss® makes it incredibly easy to connect edges on uneven blocks of land.
To connect on a sloping or rising block (in this case sloping):
1. Judge the angle of the slope by laying a piece of edging either side of the change of gradient. Just lay them on top of the soil slightly overlapping the steel at one end.
2. Get a pen and mark the edging where it overlaps. Note that this can work whether you’re dipping the edging or raising it, both methods remain the same.
3. Cut along the line with an angle grinder or hack saw, and join as per usual with a normal smart connector. It always helps to have a good clamp.
4. Lastly, install as you would usually, taking care to cover up the screws with the soil level.

Effective Tips : Try repeating this process two or more times to get a more subtle change of angles. Try putting an angle on any of your edges to give it a tapered effect. It can look really great in the larger sizes of edging! You can also just push one end of the edging flush into the ground to get a fading out effect.
Connect Different Profiles
A tapered edge can look elegant and bold, it really separates your garden from the rest. To achieve a dramatic tapered edge follow these steps.
1. Decide how dramatic you would like the edging sloping. This will determine what profile heights you will choose. The bigger the difference between the two profiles, the steeper the slope will be.
I’ve used a 100mm piece, and a 150mm piece in this picture. This will give you a nice gentle slope.
2. Connect the larger smart connector to the larger edge with your supplied self tapping screws.
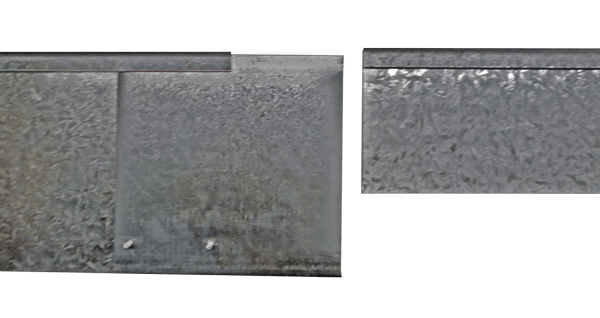
3. Connect the shorter profile as you would usually.
4. Lay in the ground on an angle, taking care to make sure your screws are below the soil level.
Tip* Your stakes will still work the same as usual, just make sure to tap them in so the top of the stake is on a similar angle to your edging.